Setup SSO with OneLogin
This is a step-by-step guide for configuring Spectral SSO with OneLogin as your identity provider.
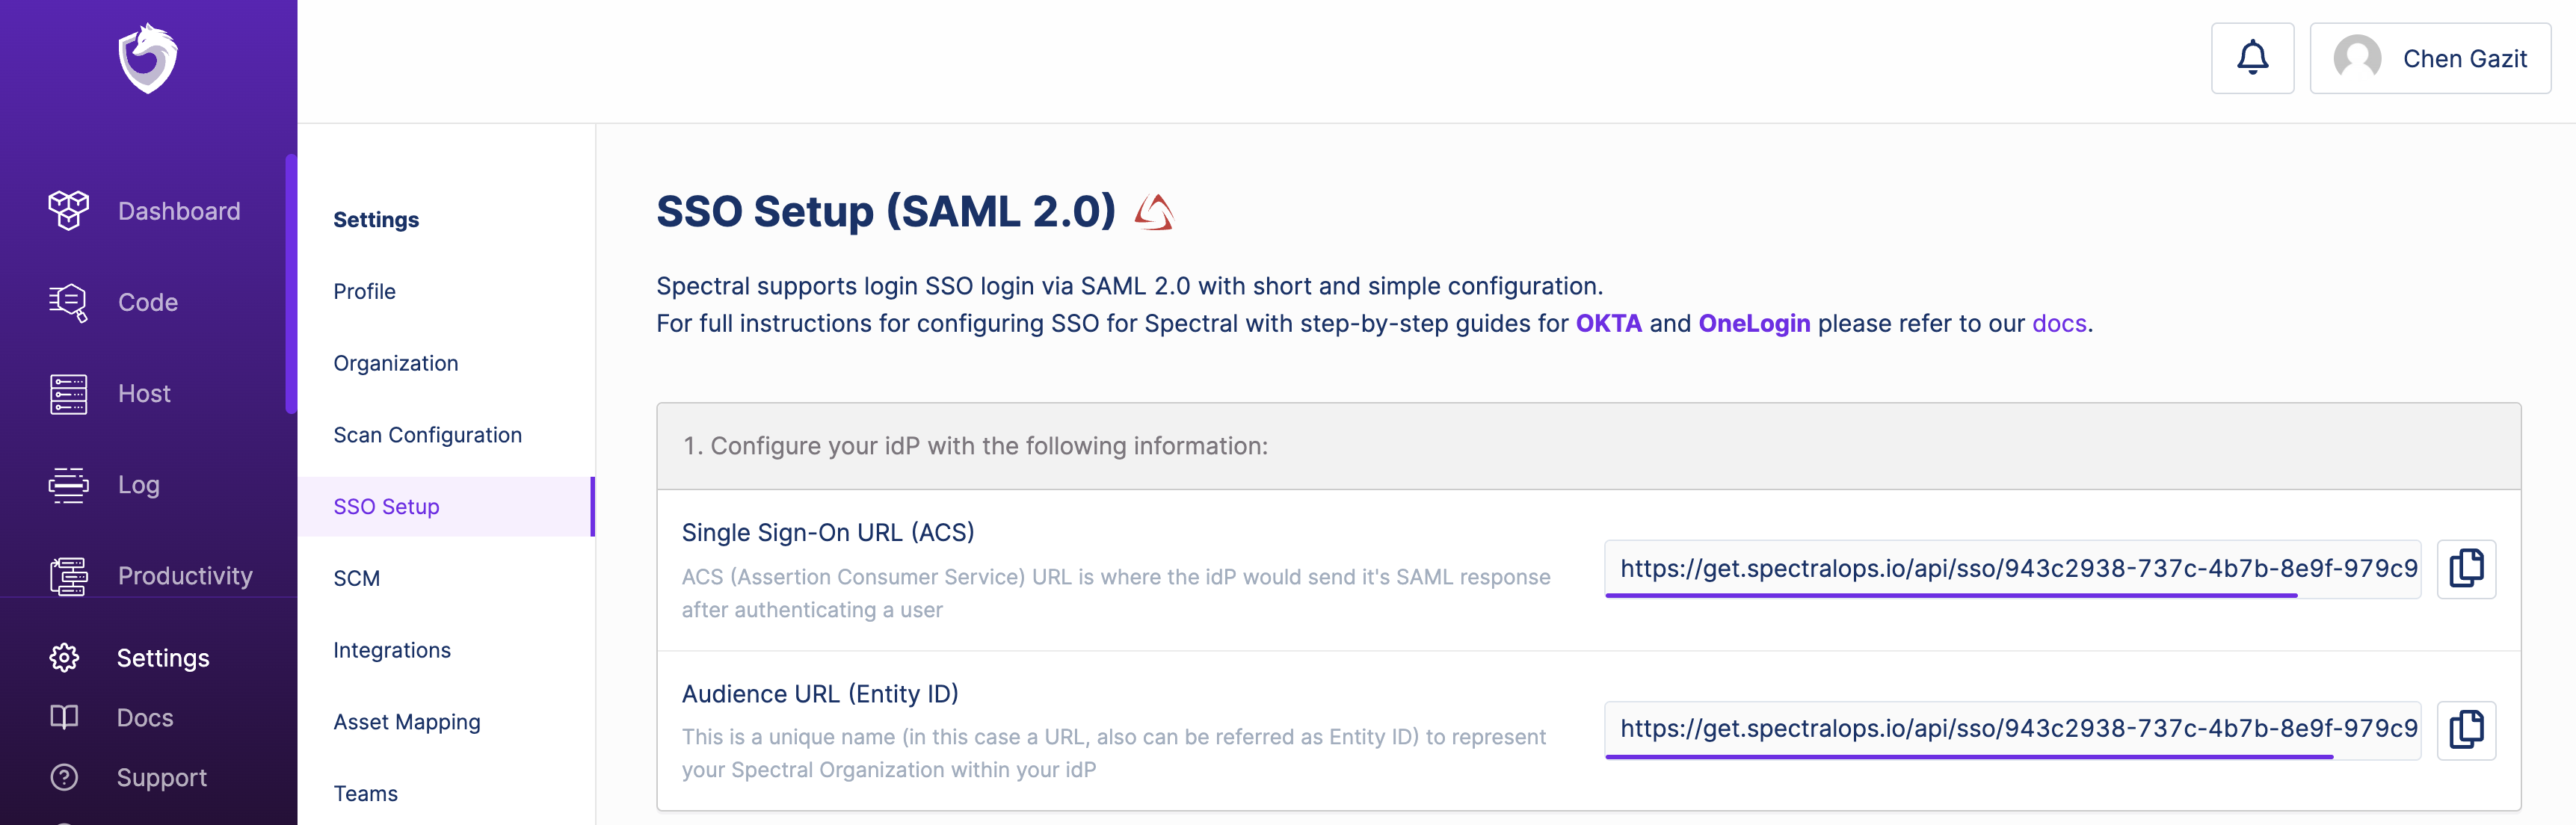
1. Grab Single Sign-On and Audience URLs from your Spectral account
In your account go to Settings, and then click on SSO Setup:
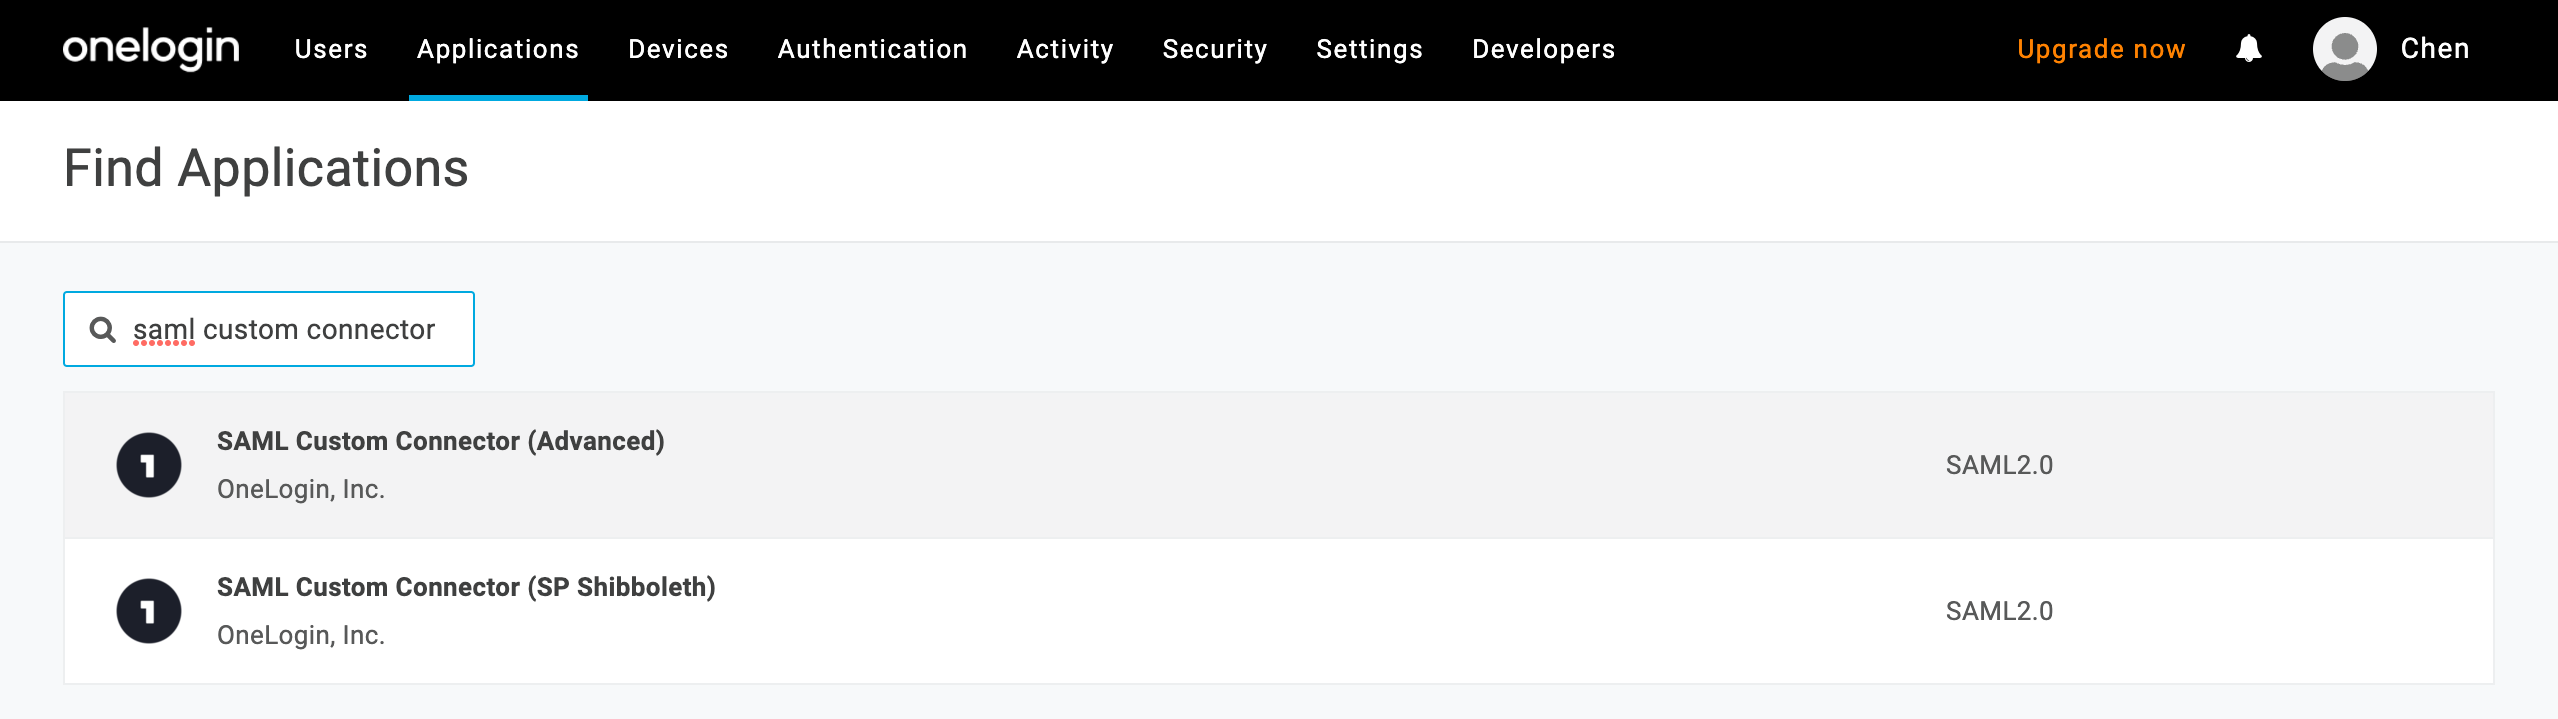
2. Create a new SAML application in OneLogin
Click on the Add App button:

Then, in the Find Applications screen, search for saml custom connector and select SAML Custom Connector (Advanced):
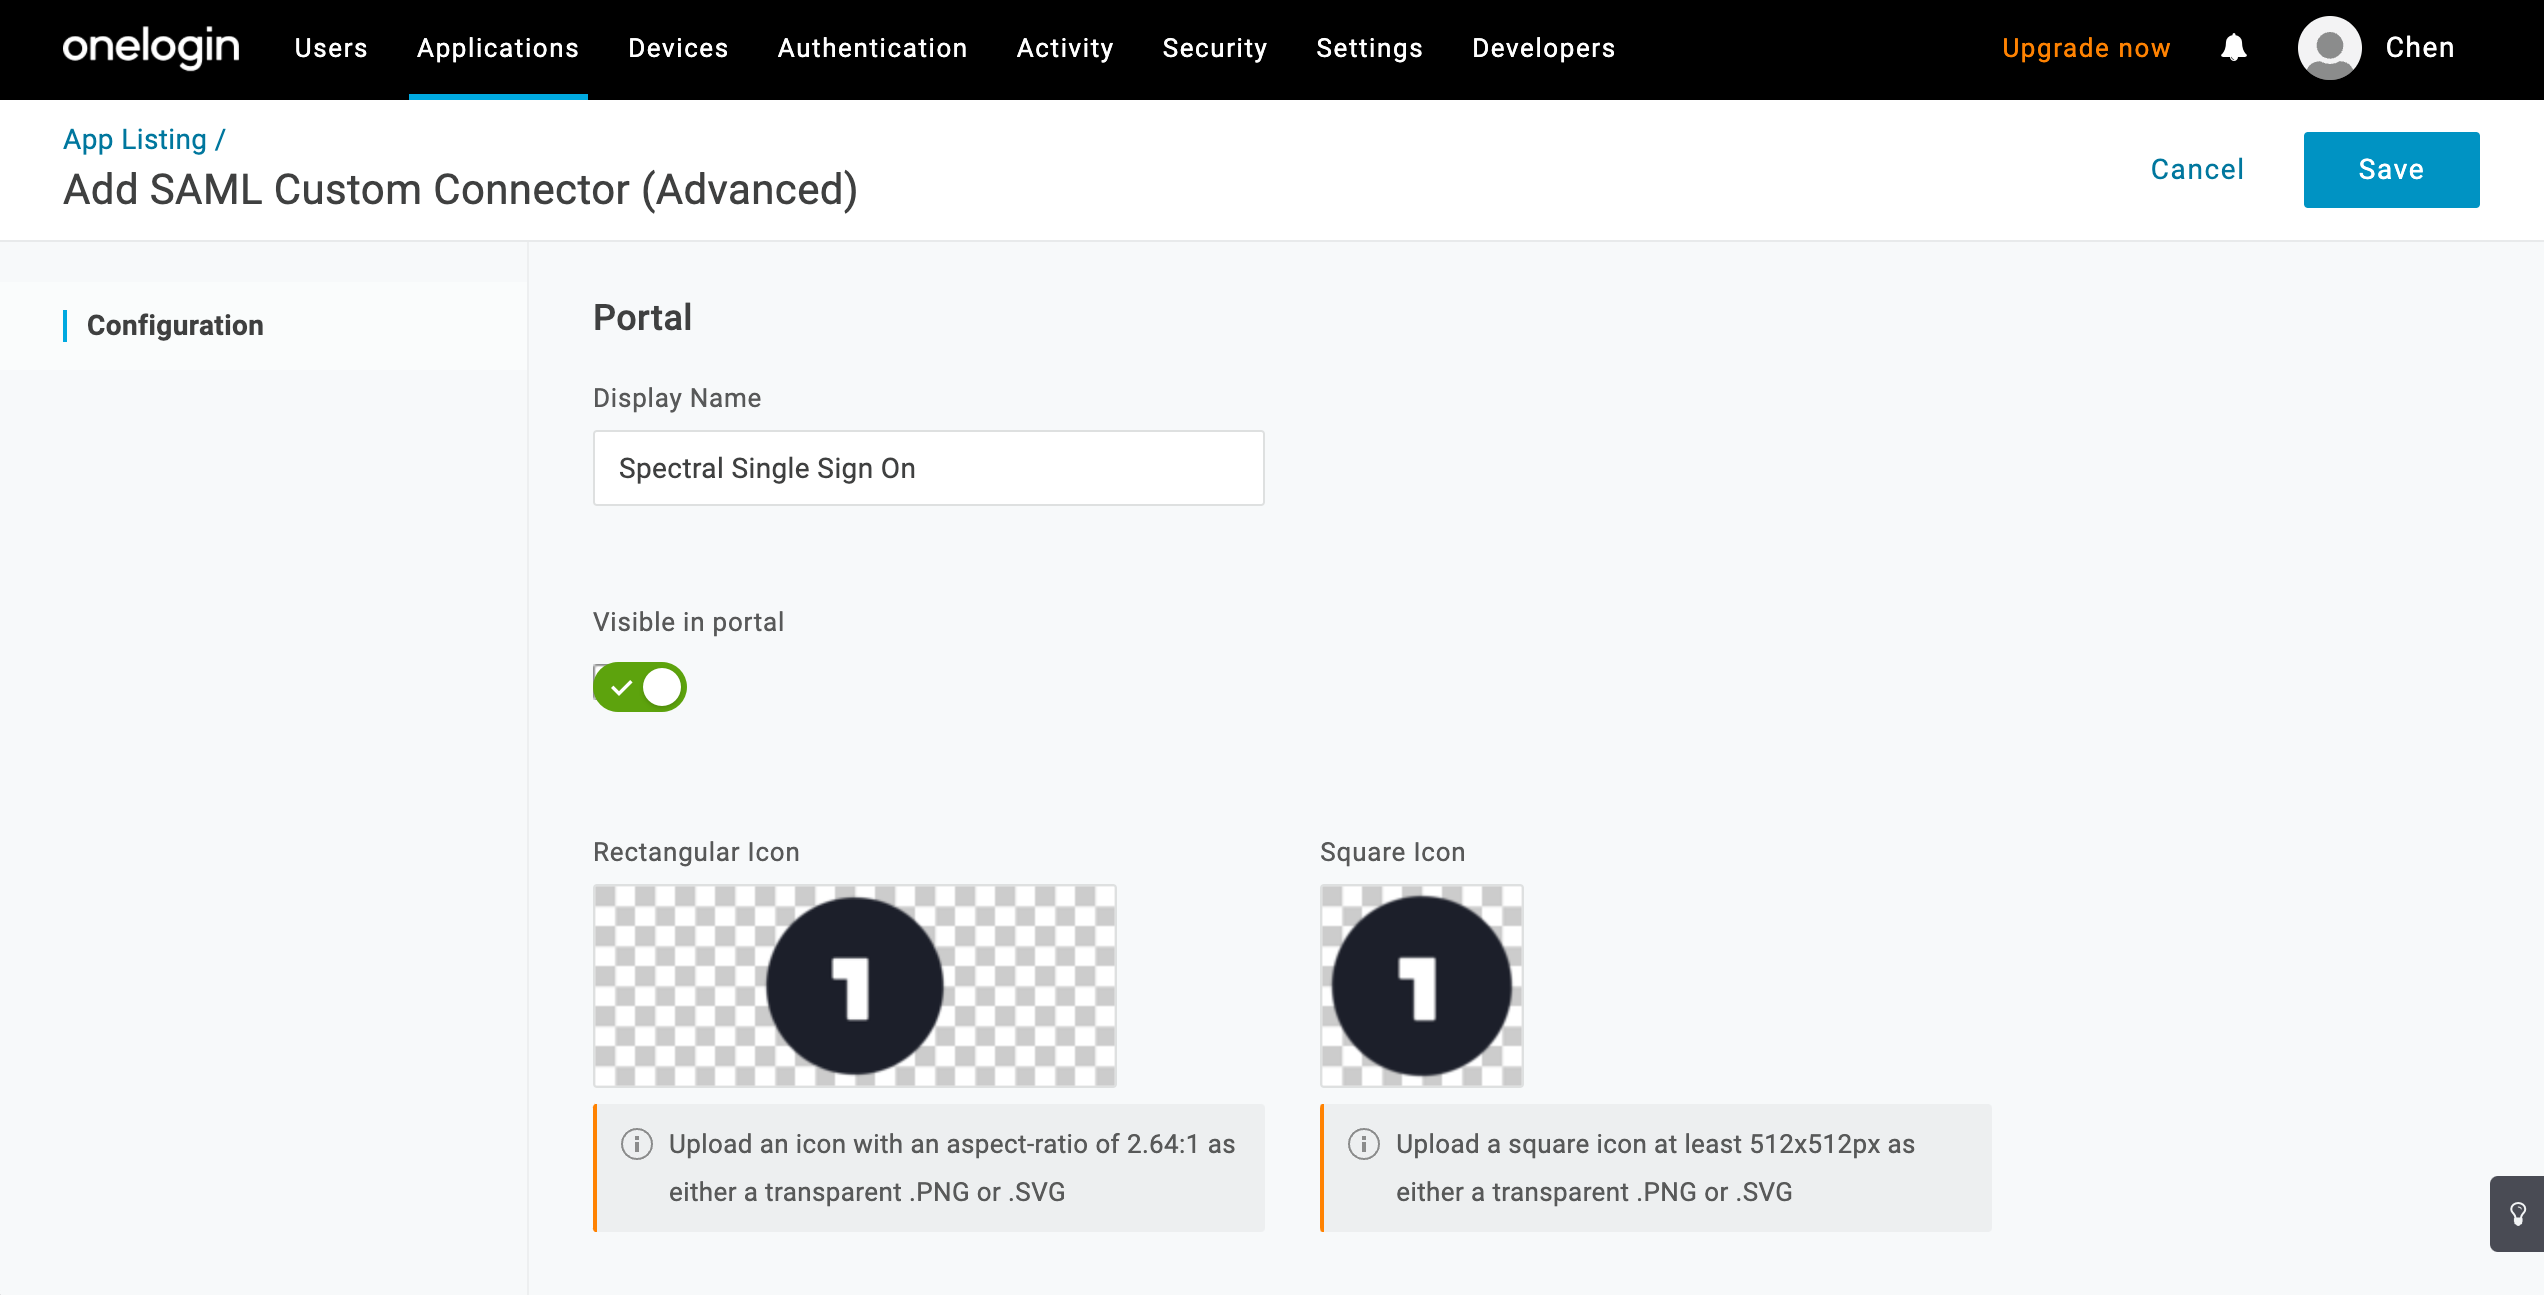
Give your application a meaningful name and click Save:
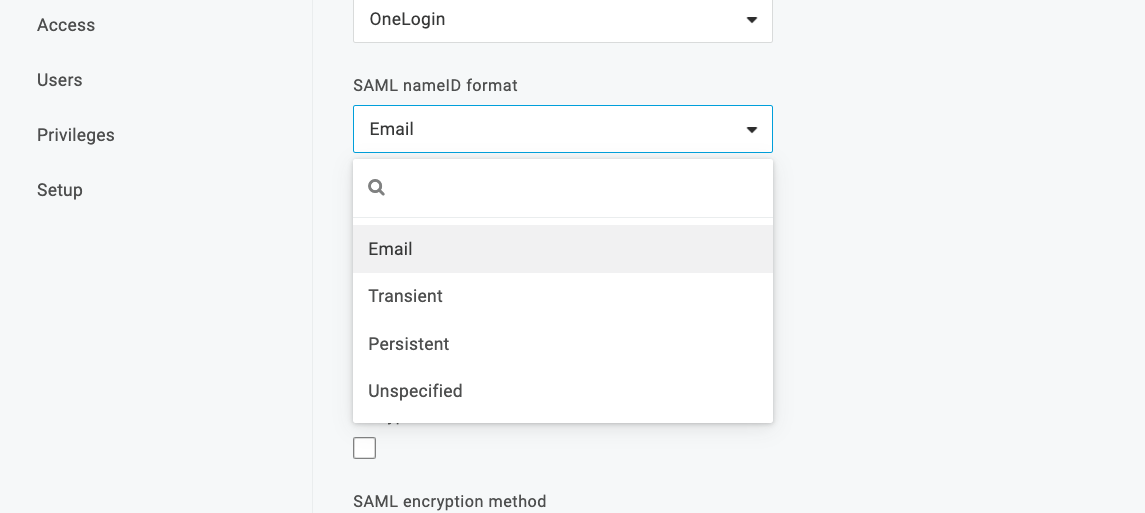
3. Configure SAML in your in your app:
- Paste the Single Sign-On Url and the Audience Url you grabbed from your account in step 1.
- Leave RelayState blank.
- Make sure SAML nameID format is set to Email.

Then, click Save.
4. Set Parameters
Spectral requires the first and last name of the user to exist in the SAML assertion.
In this section, you will need to add two more parameters to the SAML assertion.
Click on the Parameters tab, and then click on the Plus icon to add a new parameter.
First Name
Name the parameter firstName, mark Include in SAML assertion, and click Save.
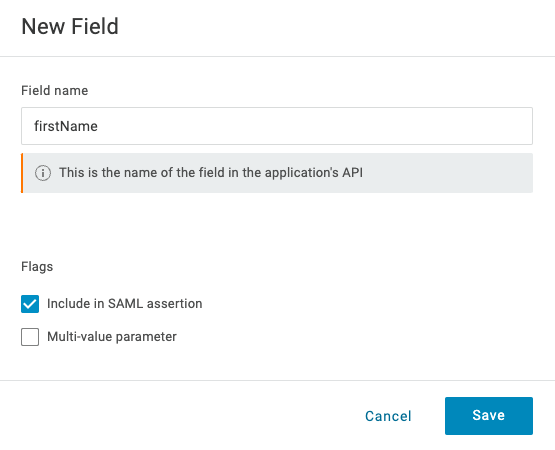
In the Value input select First Name.

Then, click Save.
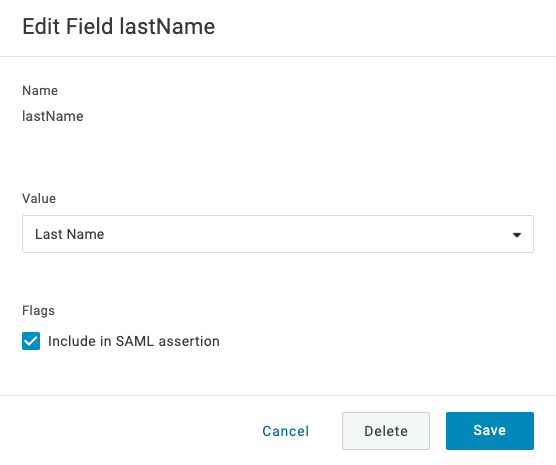
Last Name
Add new parameter using the same routine of First Name:
- The name of the field should be
lastName. - Mark the Include in SAML assertion checkbox.
- In the Value - input select Last Name.
The result should look like this:
Click Save in the parameter modal, and Save the application as well.
5. Get Identity Provider metadata from OneLogin
In your application admin panel click on the More Actions menu on the top right corner, and then click SAML Metadata:
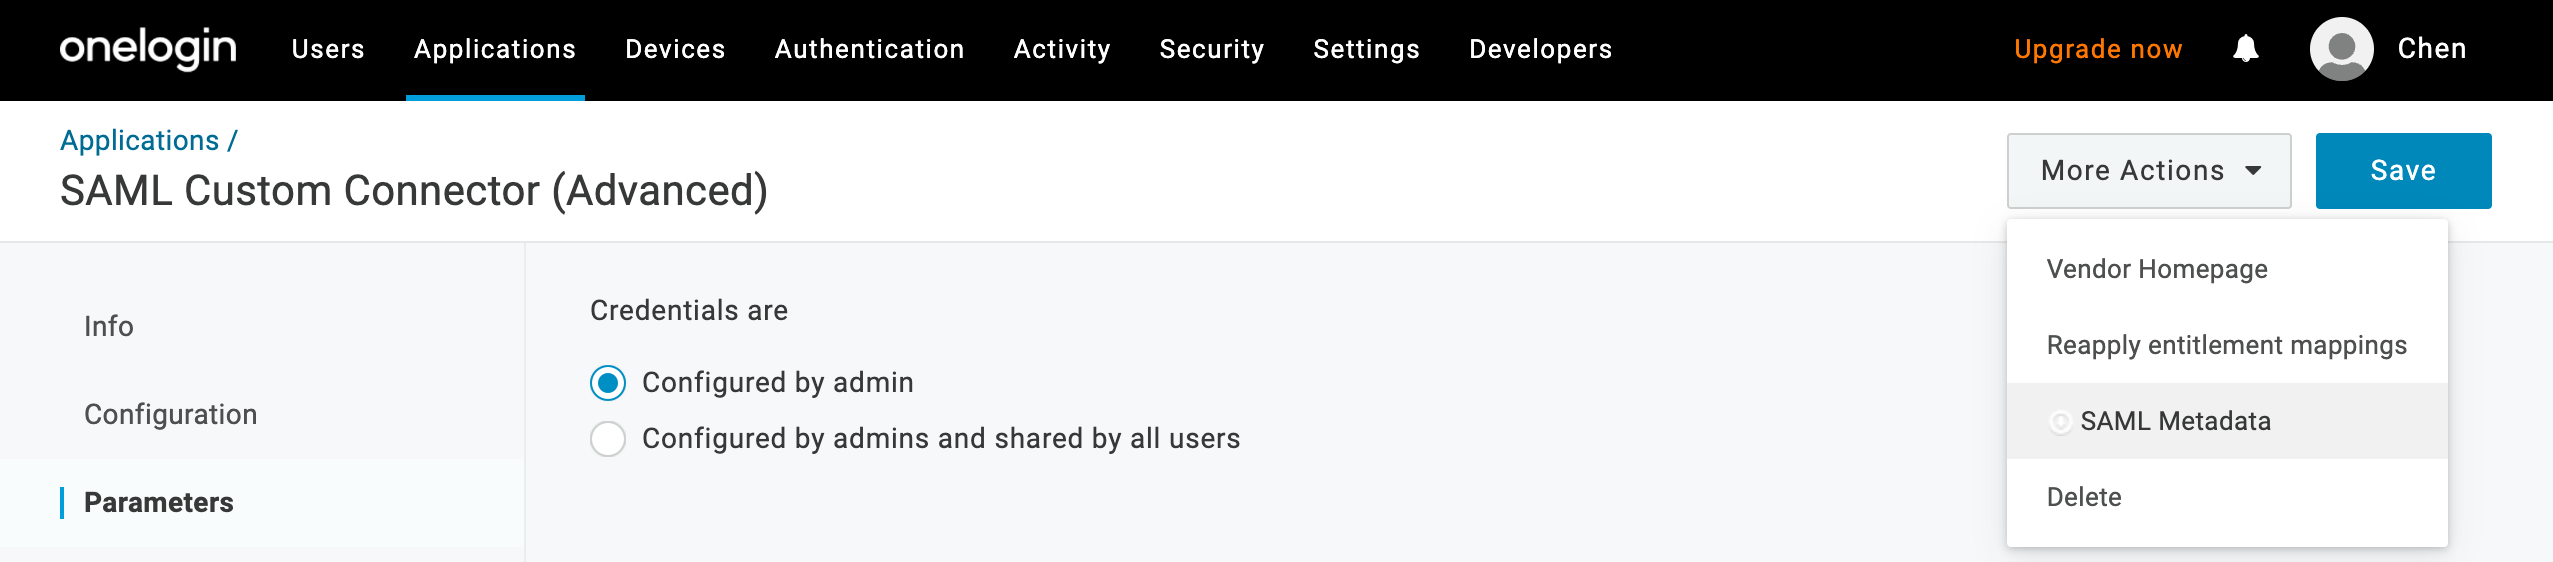
The XML metadata file would be downloaded to your machine.
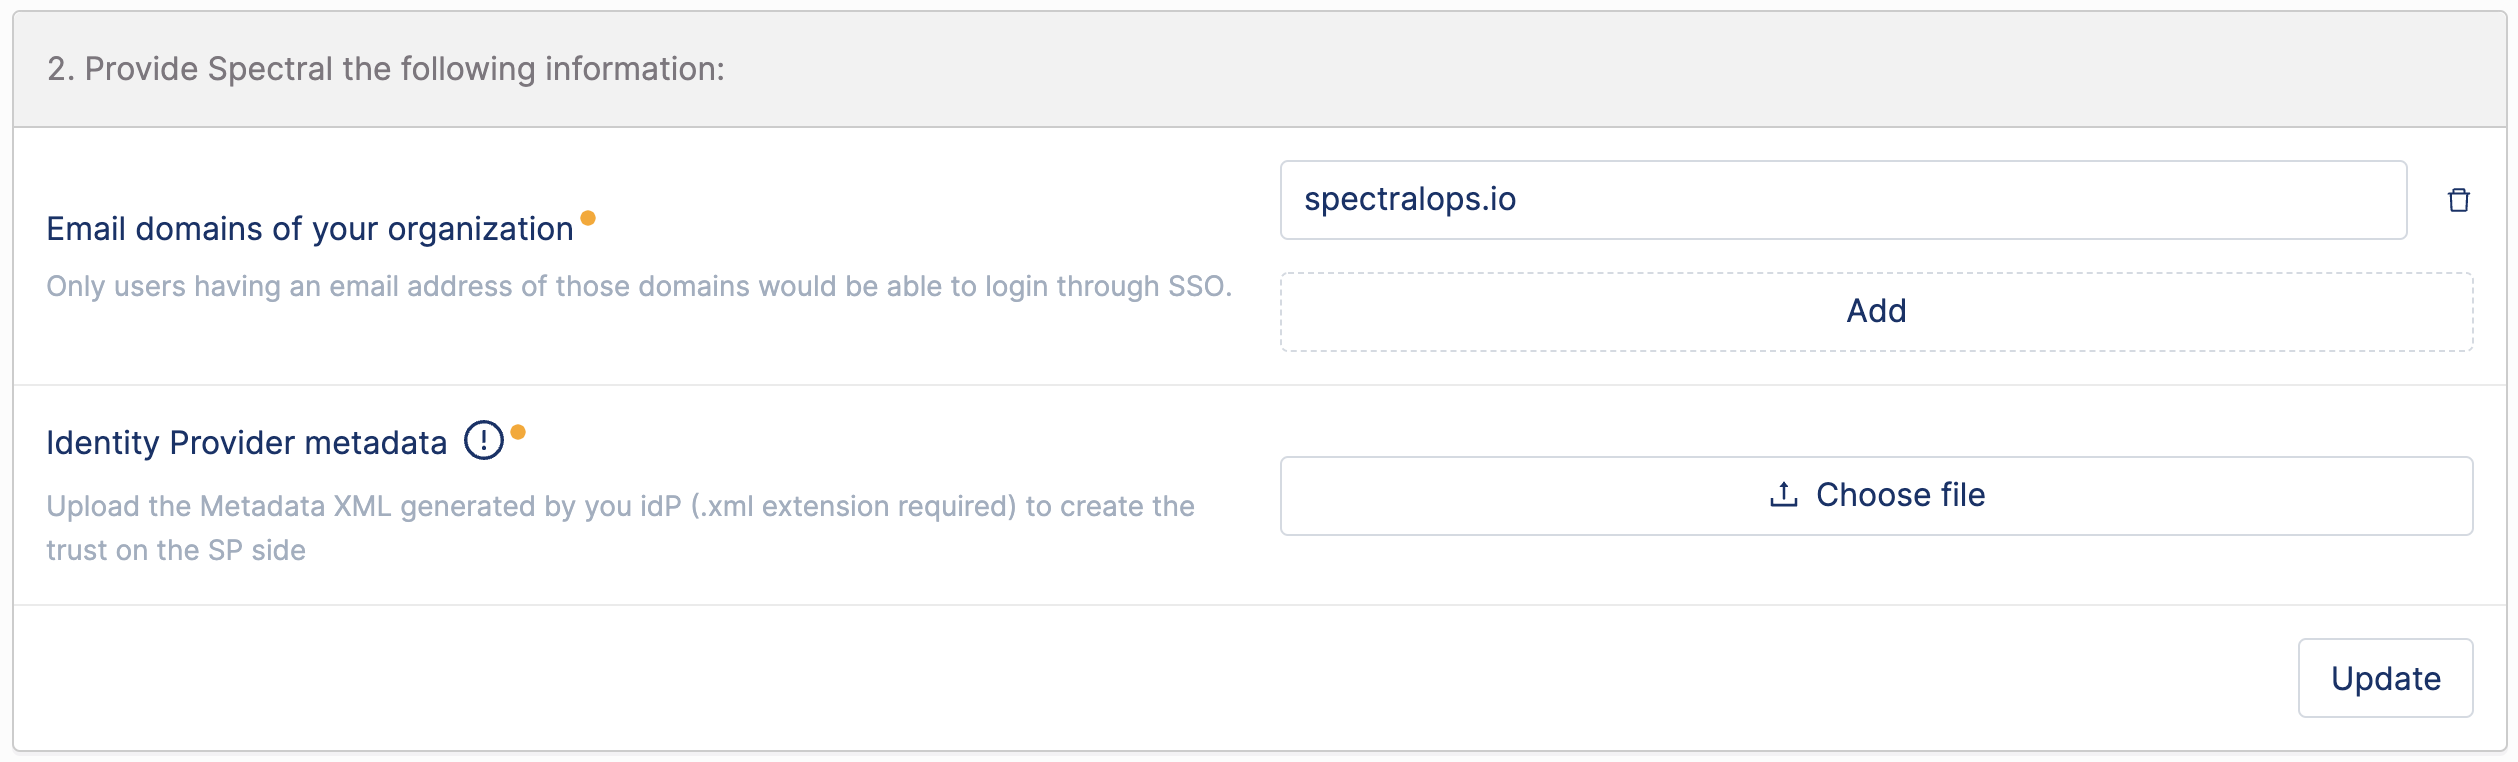
6. Provide Spectral Email domains of your organization and Identity Provider metadata
Go to your account in Spectral, and do the following:
- Insert the Email domains of your organization (Only users having an email address of those domains would be able to log in through SSO) in the Email domains of your organization field.
- Upload the XML file you downloaded in step 5 in the Identity Provider metadata field.
7. Share login URL with your team
You're all set!
After providing the required data for Spectral in step 6, you will see at the bottom of the page the URL that will be used by your team to log in to Spectral via SSO.

All left to do, is sharing this URL with your team :)
Updated 11 months ago